Showing posts with label Upcycled brooches. Show all posts

Thursday, 5 July 2012

Upcycled loopy style felt flower brooch - Tutorial


When I first saw a picture of this style of brooch I thought "wow!", but you'll be very pleased to know that they are very simple to make. Here's how...

First you'll need some upcycled felt. You know that woollen jumper you accidentally shrunk? Get that out and ready to upcycle! Or, if you have a tired looking 100% wool item, follow this link to how to felt a woollen garment.

So, now you've got that sorted, here we go...

You will need a rectangle piece of felt, approximately 30cm by 10cm.


Next, you need to fold the felt piece in half, lengthways...


Now, get some fabric scissors and make cuts along the folded edge, about 1cm apart...
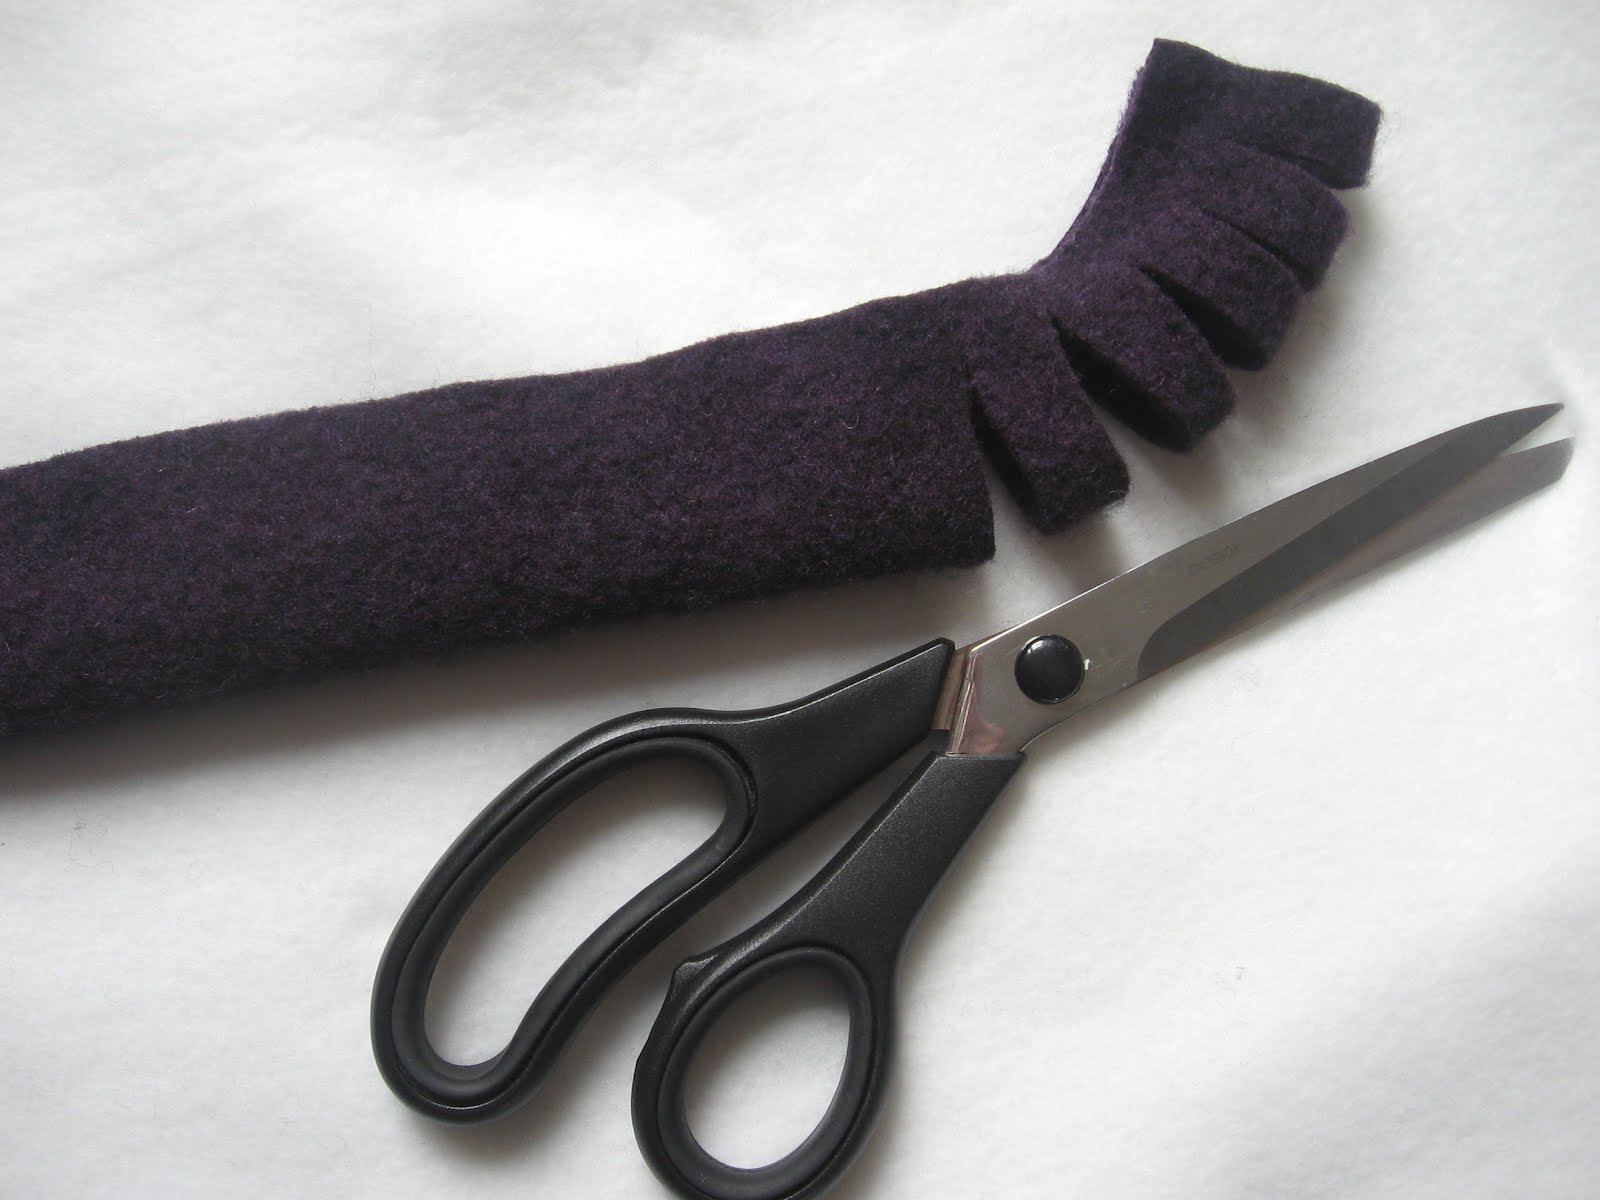


Once you've cut along the entire length of the piece of rectangular felt, it should look like this:


So...fold it back to how it was and get your needle and thread ready to go! You are going to create a spiral by rolling up the rectangle, sewing as you go. Start at one end and fold over the end (it doesn't matter which end you start with- I start on the right and hold it in my left hand so I can sew with my right hand)...


Secure the end with a knot, then you're ready to go! Just roll and sew - remembering to sew through a few layers at a time to make sure each loop will be secure in the final brooch. Also, keep the un-loopy edge of the piece of felt straight... the spiral WILL naturally dip in the centre...LET IT! This will give the finished flower the more domed look.


Finished! Now make a knot to secure and turn over to reveal your creation!


Now...you have a choice. You could leave as is and add a circle of felt to the back and attach a brooch pin. Or, you could add some leaves...


Here's how...

Start with two rectangles of felt (approx 5cm by 10cm ...but size of leaf is optional!)


Now, scissors to the ready and cut leaf shapes as so:


I like to sew mine together first before adding them to the flower - just seems a bit less fiddly. I like to add some stitching detail to the leaves (this can be done on a sewing maching or by hand)...
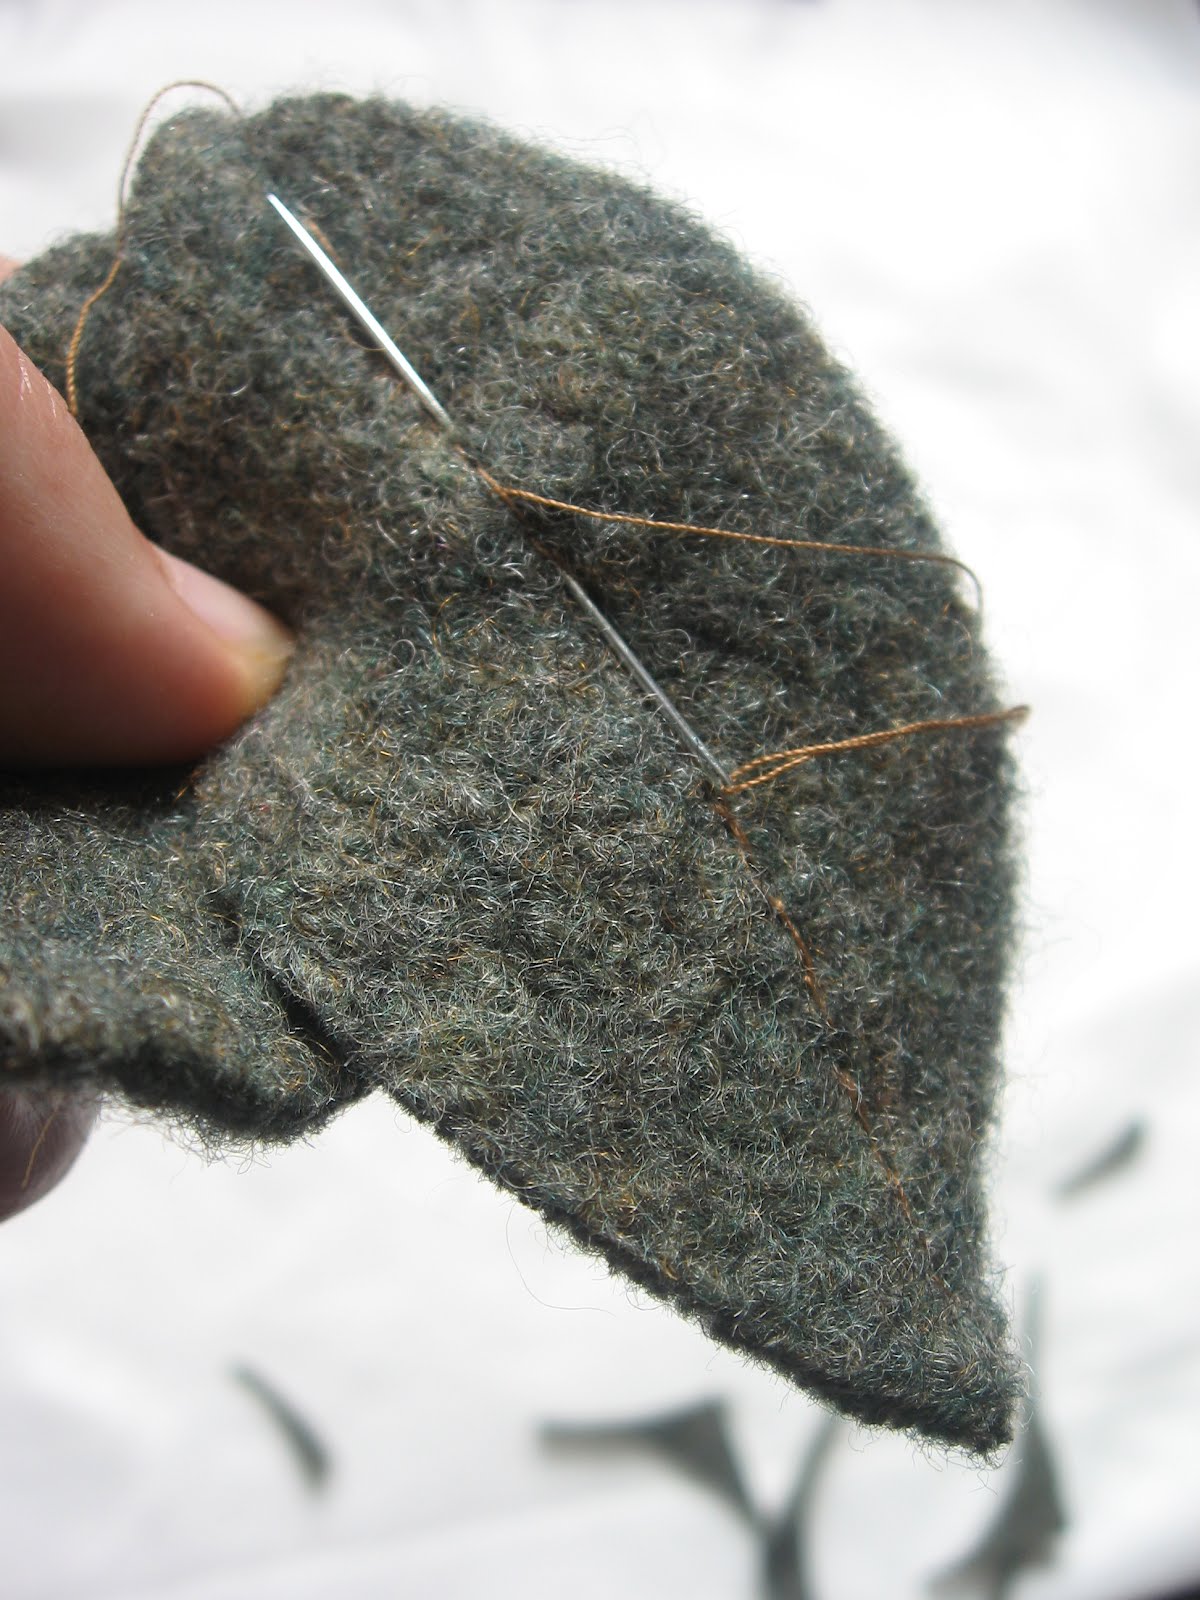


Right, now to sew the leaves onto the flower...


You want to make sure you sew through the leaves and the flower, all the way around the circular base of the flower...


Finally, tie a knot to secure and you're done! Now just sew a brooch pin to the back and give to a friend as a very special handmade gift...or just keep for yourself! ;-)


Get creative and have fun upcycling! :-)


Lots more photos for inspiration on my Facebook page, also flower brooches available to buy.

Thanks for stopping by! :-)

Thursday, 9 February 2012

Upcycled Phone Cover and Brooch Giveaway!!

To celebrate reaching over 200 likes on my facebook page, I am doing a giveaway!

I am giving away an upcycled phone cover and an upcycled brooch.

Both are upcycled, so are made using items that people don't need or want any more. I take these pre-loved items and make them into new, lovable things!


The brooch in this giveaway has been made from jumpers that I have rescued, washed, felted, cut, hand sewn, embellished - ending with a new item. It will brighten up a winter coat, hat, bag, or shawl.

Upcycled beige rose with dark purple leaf. 100%wool. Usually £6.50. Rose 6cm across, 8.5cm from leaf tip.


The other item in the giveaway is an Upcycled phone cover- to keep your phone cosy and warm!


I am giving away this one...


Dark brown ribbed with autumnal coloured striped leaf detail and deep red circle and 'rescued' button with stitching detail. 100% wool.

This has been made for Blackberry phones but fits iphones too with a bit more room at the sides. Measurements: 9.5-10cm wide, 12cm high (when closed). Usually £10 each.

Spot wash with a damp cloth or hand wash in warm water and dry flat. Not suitable for children under 36 months due to small parts.

Back:


Inside:


How to enter:

Leave a comment below to enter your name into the draw - That's it!...just one will do :)

Also, please don't leave an anonymous comment, or I won't be able to contact you if your name is picked when the draw takes place.

Why not follow Upcycled Creatively by email (see option on the right)? Then, when the winner of the draw for the giveaway is announced, you won't miss it! Plus, you'll be sure to see all future upcycling ideas and tutorials too!

This Giveaway draw closes on Friday 17th February at 12 o'clock UK time and the winner will be chosen randomly and announced later that day. The phone cover and brooch will be sent out as soon as possible after that.

If you don't win this giveaway, don't fret! Keep a look out for more in the future and also remember to take a peek in my facebook page and etsy shop, for the opportunity to buy some Upcycled Creatively items :)

Thank you again to all my 200 plus followers and I hope you enjoy being part of my upcycling!

Naomi :)

----------------------------------------------------------------------------------
THIS GIVEAWAY IS NOW CLOSED

Thank you to all 18 of you who entered :)

I have used www.random.org to pick a number from 1-18 at random.

Here is the winning number:


NUMBER 9!

So, the person who made the 9th comment...Abi!

Congratulations Abi!!

Please message me your address and I can get the brooch and phone cover in the post for you asap :) naomijanecreatively@gmail.com

Thank you again to all who entered and who are following my pages...look out for more giveaways in the future :)

Friday, 27 January 2012

Upcycled felt rose tutorial.

This tutorial started out life as the 'crayon roll' variety but had to change to a 'felt rose' type instead. The reason? My sewing machine was poorly and now has stopped working :( . So, while sitting with my feet up this morning (I've hurt my knee), I thought you might like to let me show you how to make these:


I had seen photos of them before but never attempted to make any until recently. They really are VERY easy, can be made from small pieces of material and brighten up a coat, hat, bag, dress, cushion etc etc...

I can't remember where I first saw how to make them but quite liked the idea of doing my own tute here. Here goes!

First you will need a square of felt. I don't think I will give measurements - if you want a larger rose you need to use a larger piece of felt :)


I have used a piece of scarf - follow this link to learn how to felt a garment.

Next, cut the corners off your square to make a circle...


I told you it was simple! Next start cutting the circle into a spiral, starting from the outside edge...


You'll be left with something like this...


Right...your instincts will be telling you to start with the inside (mine do!), but you need to pick up the outside end of the spiral now...


Now, start wrapping the spiral of felt around the end you are holding. This always makes me smile because I think the little end sticking out looks like a cute little tortoise/turtle tail...anyway! Back to the job in hand...


Keep wrapping until you reach the end/middle of the spiral...


You will then find that the middle of the spiral you started with fits perfectly over the base of your rose and finishes it off nicely!


Turn over...


Trim if needed...


Voila!


You can glue your rose - I've seen that suggested before- but, personally, I prefer to sew mine. Make sure you sew through the 'turtle's tail' so it won't unravel!...


Now, if you want, you can add a leaf and brooch pin, or just sew directly onto something like a cushion. Maybe you could make a brooch for a friend's birthday, to give to someone special for Valentines day or ready for Mothers day...or for yourself!

I have some upcycled brooches for sale in my Etsy shop. I'd love for you to pop over, take a look and maybe buy :) Or, pop over to my Facebook page and look at my upcycled brooch photos for inspiration :)

Have fun upcycling!