Tuesday 29 November 2011

Advent Calendars and Visual Timetables

My boys got given their chocolate advent calendars last weekend, in preparation for the Christmas countdown. They are very excited, of course! There are lots of great ideas around the web at the moment about how to make advent calendars and that got me thinking...thinking about upcycled advent calendars!

I came across this great idea by Lucy Barr-Hamilton for making one from old jeans (shown by 'The Sewing Directory').

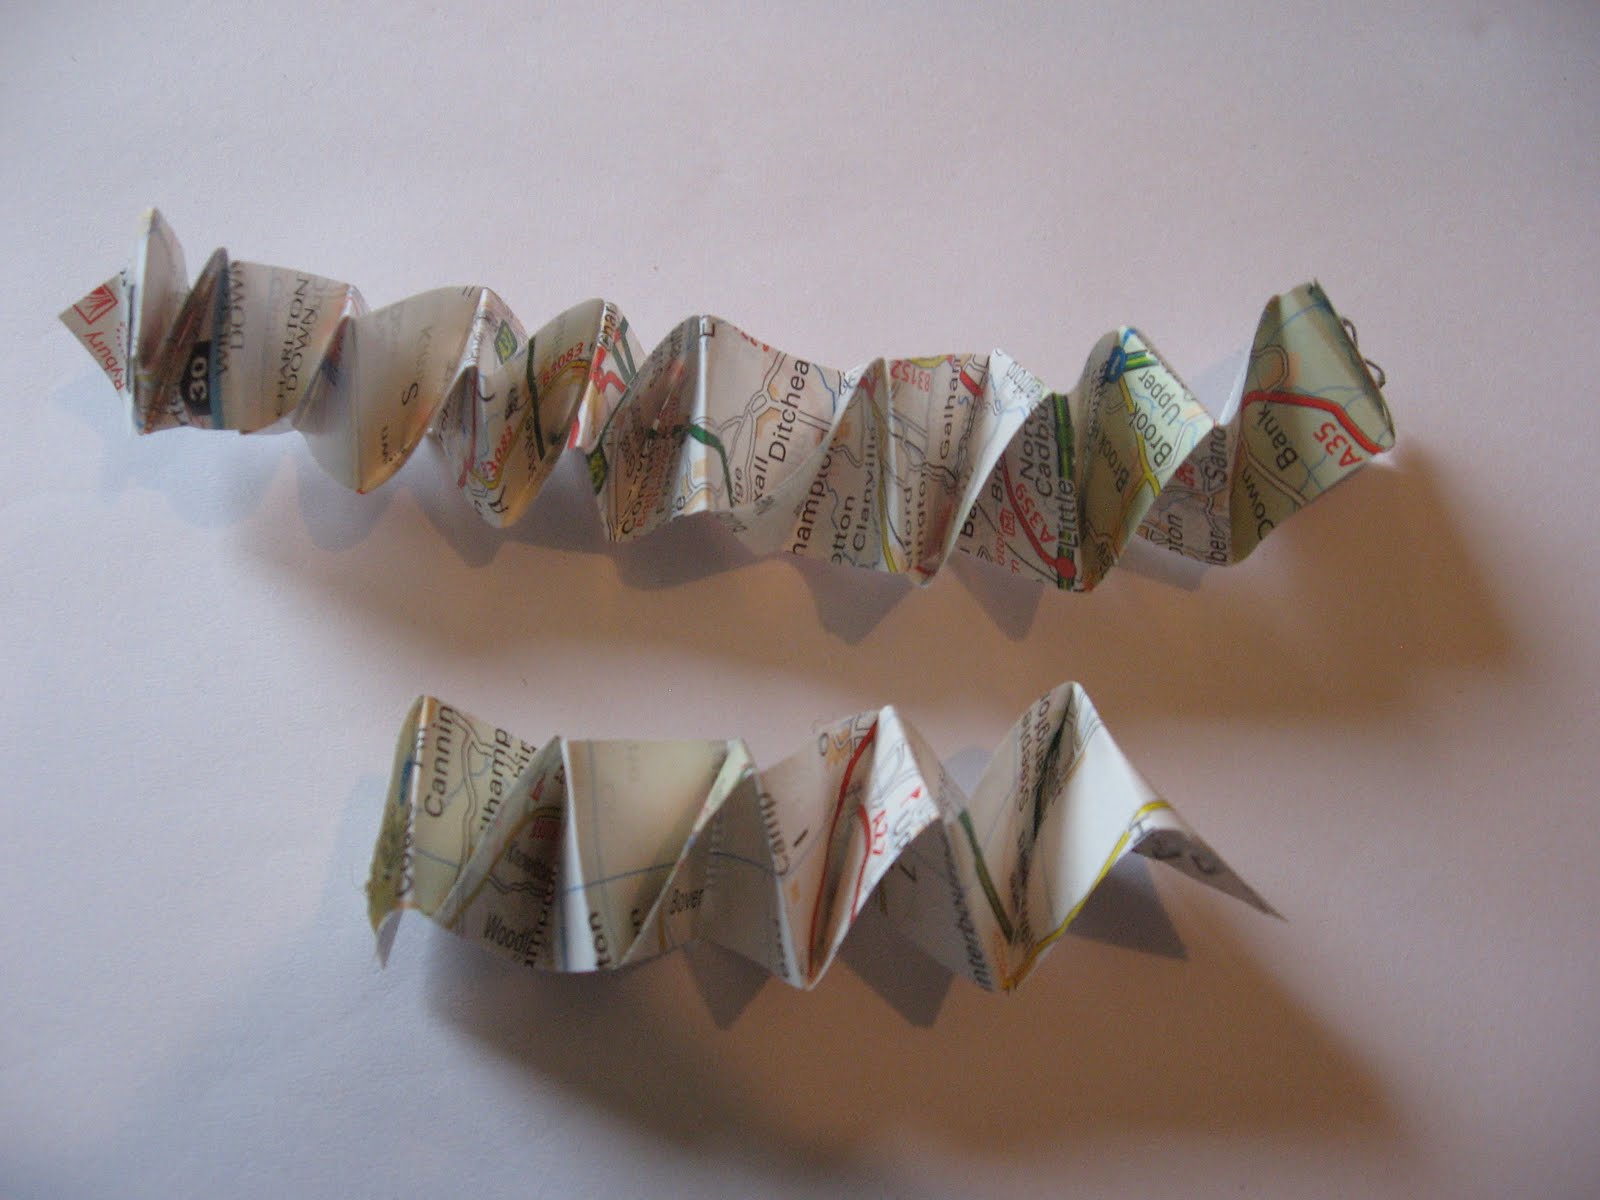
Also, this great idea for using upcycled book pages to make advent boxes by Caroline from 'Cannycrafter'.

How about this idea that uses bottle tops by Belle at 'Belle and Burger' ? (I am going to do this one! I am a hoarder of bottle tops!)

We will probably put little pieces of paper into each bottle top, each one with an activity on (I got that idea from my friend Anna at 'The Imagination Tree', who has made an advent tree with fun activity ideas for each day here).

Or maybe we will put a Bible verse into each bottle top to share as a family for that day. That would be a good way for us to remember the true meaning of Christmas as a family.

I am going to make it with my boys tomorrow because they are off school. We will also be making another sort of calendar - a visual timetable to show the events over the Christmas period.


My two eldest sons are on the Autistic Spectrum and become anxious when routines change or they are not sure what is happening next. Christmas holidays, especially, can be very stressful for them as we travel, meet family, do different activities at home and school that they wouldn't usually do.

We have found, over the years, that to help limit this anxiety, we need to have a visual reminder for them of what is happening each day.

This is what we did with them last year:


We sat down and I drew a rough square to represent each day and numbered them. We then talked about what would happen on each day and wrote it in. They decided that at the start of each day they would put an orange sticker (huge pack from the pound shop) on that day's square and then at the end of the day, before bed, they would tick that day off. Doing this really helped to calm a lot of their anxieties away.

I have a cereal box set aside ready for our Christmas timetable and will do that tomorrow with them.

If you have children, what do you do to prepare them for the busy, exciting Christmas time? And are you making an advent calendar with them and will it be upcycled? I'd love to hear what your ideas are!

Thursday 24 November 2011

Map Bauble Stars

I made a discovery this week (excuse the awful pun!). I was on the look out (around the house) to see if I could find any materials to upcycle and came across this out of date map book:


A perfect example of an item which is disposable but can be made into something of more value. I sat down and cut, folded, sewed (is that a word?) and eventually came up with these:


Here is how they are made...


You will need 3 strips of map, about 1 and a half cm wide and as long as the map book (the one I used was an A3 one I think). The baubles are made from a larger circle and a small star. First you need to make the small star. To do this, take one strip and cut it in half, so you now have 2 short strips and 2 long strips. Put the long strips aside, making sure they don't get lost (awful pun number 2).


Put one strip on top of the other, at right angles to each other and staple. Now the folding starts. You want to fold the strips over and over, alternately, until you reach the end of the strips. Then staple the ends to secure.


Then repeat the process again with the 2 longer strips, so you have 2 map springs.


Just pull them slightly to make them expand, then pick up the smaller one. Attach the 2 ends to each other with a few stitches of thread. You will feel like you need another set of hands at this point, but keep going and you will get there (pun number 3 - sorry). Do not cut the thread yet because you will need to sew the larger strip together with it too.


OK, so now all that needs to be done is to arrange the longer strip so it circumnavigates (!) the star and sew the ends together to secure. Oh, and make sure you make a loop with the same thread so you can hang your creation up.


We will be having some of these hanging on our tree this Christmas but I am sure they could be made into a garland too to decorate other spaces. I like the way the light creates shadows on the folds. They might make a good present topper too - with map wrapping paper! Good for a person who likes hiking/travelling/driving. Maybe?

If you like the idea of upcycling maps, there are loads of ideas out there...beads, pots, flowers, frames, wallpaper etc etc!... Have fun!

Wednesday 23 November 2011

Why I 'Upcycle' and what is it?

The definition of 'Upcycling' is:

"The practice of taking something
that is disposable and
transforming it into something
of greater use and value".


So, basically, any item that someone doesn't want anymore and/or would throw away, maybe because it is old, out of shape, holey, or simply something that would be usually be thown in the recycling bin. Anyway...you get the idea! These things are then taken and made into new, useful items.

Why?

I have started on this upcycling journey for the very simple reason that it fascinates me! I find it amazing, satisfying, challenging and rewarding to create new from used and tired. Also, selling the items I have upcycled means that I can help with the family income, whilst fitting in Mummy duties AND doing something I love to do...designing and making!

I hope that you will find lots of inspiration on this blog and that you too will be encouraged to upcycle some items of your own.

Happy Upcycling!

From Naomi.

Saturday 19 November 2011

Christmas tree decorations.

I am VERY excited! I have a table at a Christmas Fair next Saturday! This has inspired me to get designing and I was thinking probably the best place to start would be something 'Christmasy' and something smallish (I don't know about you but I am always drawn to the smaller things at stalls because they are usually cheaper, plus small is cute!). So, inspired by my recent Charity Shop Button buying trip, I decided to use my red buttons as holly berries.


And here is how I made it (apologies for some photos being extremely stubbon and not wanting to rotate!):


I started by drawing, onto paper, the size of decoration I wanted (I went for Christmas tree shaped), then cut out of upcycled felt (husband's jumper which I accidentally shrunk!), just adding about a cm around the edge. I cut two pieces (front and back).


Next I sewed around the edge, leaving a couple of inches unsewn to turn right side out (felt doesn't tend to have a wrong or right side, which is great, so I didn't get in a pickle). Photo not really necessary but I wanted to include it because I've seen it on other blogs and think it looks cool!


Before I turned it inside out, I decided to cut the corner off (careful not to cut the thread), this helps to make the point more 'pointy'. I thought afterwards that I should have cut the two other corners too. That's the nice thing about making things isn't it, learning as you go along from trial and error?


OK, so after I turned it inside out and made the points as 'pointy' as I could, I stuffed it with some scraps of material (upcycled of course!) and sewed the hole up by hand.


I made some holly with some upcycled green felt like this:


Then sewed them onto the 'tree' with some light green thread and added a couple of gorgeous red 'berries' aka buttons. Note to self - must go to that charity shop and get another couple of scoops of those lovely buttons!


Next I made the hanging implement (what is it called? loop? hook?), which was a piece of upcycled t-shirt. If you make this, make sure you cut in the direction of the small ribs in the t-shirt fabric, rather than against it, so it is less stretchy.


Learning by trial and error again, when I went on to make more, I sewed the loop INTO the 'tree' when I did the edge stitching at the start, rather than sewing on at the end. I think it looks cleaner that way.

This is how big the tree decoration is:


Oh, and here are the tree's friends:


...I had fun!

Upcycled materials used:

- Felted grey (husband's!) jumper
- Felted green jumper
- Rescued buttons
- Scraps of a dark red t-shirt, too small for my boys
- Off cuts for stuffing
- The lower legs of a pair of green cords (top half waiting to be made into a skirt)
- Ribbon from some Christmas wrapping from last year

Friday 11 November 2011

Firework Costume ready to ZOOOM!

Well, the day for the costume wearing is here! I came down this morning to find all three boys sitting on the sofa, ready in their spotty costumes, excited to start the day.

Here, as promised, are photos!


My little firework with his teddy ready for the parade (he was a little shy and didn't want to do a 'zoom')!


You can see the 'fire' strands at the back here (though doesn't show it too well). They looked great streaming out behind him as he rode his scooter to school! They had frayed quite a bit but I think that can only add to the 'fireness' of them, don't you think?!


This was the biggest 'zoom' I got out of him this morning but I am very sure there will be lots of zooms, whizzes, bangs etc going on in the playground today! Proof of this will be his costume looking a bit worse for wear later, I am sure :-)

This is what the other boys looked like:


Spotty pjs and a spotty hat was the request here and he did so well making his own hat that I made a teeny tiny hat for his teddy as a surprise (all recycled card from food packaging).


Here is the spotty alien...


The hat is made in the same way as the firework hat but with a couple of pipe cleaners pushed into the top and the addition of googly eyes! He was very good at raiding the house to find things to use...I wonder who he has learned that from?! He found the alien hat in their toys and decided to put that under the green hat. The green cowl is actually an off cut from the trousers of the spotty dinosaur I made last year...yes, I am a hoarder of crafts!

I love that he had so many of the ideas himself, including two tails which I made with a scrap of green fleece blanket I had kept from a previous project. I just tied it onto his dressing gown belt and knotted them along their length to give a bit more texture.


So, off we trundled to school, ready to raise lots of money for Children in Need. Three great things about this project:

1 - The boys had fun designing, problem solving, searching, making...
2 - The school will raise lots of money for Children in Need today (each child pays some money for wearing a costume plus other activities)
3 - Our costumes were recycled, upcycled, refashioned so...Money spent on our 3 costumes? £0, so we can spend more on raising money!

Going Spotty for Children in Need Day!

Well...this is my first post! I have to admit that I have been putting it off for a while as the last couple of weeks have been busy. Today though, I knew I was going to be making my boys their Children in Need Day costumes and thought "why not take some photos along the way?!"

My boys school will be having a spotty hat competition and a spotty costume or spotty pjs parade...Cue Mummy! I always try to recycle things that I already have around the home. I hope you can get some ideas from what we have done.

Last year we had a spotty dinosaur made from fleece blankets, a spotty robot made from a cereal box and bits and bobs and a spotty dressing gown. This year we have a spotty firework, a spotty alien and spotty pjs and hat.

This is what we did for the firework:


My youngest wanted to design his hat first (it didn't start out as a firework, that idea came as we started to make). First I made a cone shape from a cereal box with the flaps cut off. We put the plain grey side on the outside so it could be easily painted later.


We secured it with sticky labels because we didn't have any masking tape (sticky tape can't be painted over). He then wanted to make it a 'marble run' hat...I tried, I really did, but...no. Then the firework idea was born. He is the firework and his hat is the pointy part (all his own idea). He painted it blue then, while we were waiting for it to dry I made the 'fire'! I wanted him to be able to zoom and wizz about the playground, so thought he could have 'fire' shooting from behind and from his wrists.


For the 'fire' I found an old orange net curtain, with a fire-like shine to it, and cut it into strips. I ended up using 6 shorter strips for the wrist bands and 6 longer strips for the waist band. For the wrists I found a scrap of red fleece from a previous project and cut it into a rectangle...


Onto this rectangle of red fleece, I added the orange strips with a simple knot...


Iused 3 for each wrist band. Then I just tied them onto his wrists with enough room for slipping off and on...


He LOVED the 'floatiness' of them and immediately started zooming his arms around! In the end I actually cut each orage strip into two, so there are more 'fire' strands. The longer strips of orange curtain were used in the same way for the waist band, which is a belt.


He had great fun decorating his firework hat. We used some firework pictures we had made last year (and found in the bottom of the craft box!). We got the idea from my friend here: http://www.theimaginationtree.com/2010/09/salad-spinner-art.html

He then added coloured pom poms as spots (I had wanted to upcycle some bottle tops but, alas, I realised I had cleared them out a week earlier...what was I thinking?!)


He will wear a blue jumper with sticky label spots (patiently made by Daddy). I will add a photo of the finished costume and child, in all his excitement, from the morning of the day!

I love making costumes for my boys. Yes, I get stressed when they all bombard me with questions and requests at the same time, but seeing the excitement on the day makes it all worth while! Thank you for reading and I hope it helps to show that costumes can be made easily and cheaply from things already found in the home.


Upcycled objects used:
-cereal box
-orange net curtain
-scrap of red fleece blanket
-bottle tops (if I had not thrown them out!)
-a salad spinner, repurposed to make paintings!